How Do You Set up a Drone Obstacle Course?
To set up a drone obstacle course, start by choosing versatile materials like hula hoops, foam pool noodles, and PVC pipes to create safe and engaging obstacles. Assess your flying space to ensure it's free from hazards like trees or power lines. Incorporate varied heights and distances to challenge pilots and keep the course exciting. Use LED lights for added visibility. Secure your obstacles with yard stakes to prevent movement. Check local regulations and FAA guidelines to ensure safety compliance. Lastly, test your course and make adjustments based on feedback to enhance participant experience. There's more to explore for perfecting your course.
Key Takeaways
- Choose materials like hula hoops, pool noodles, and PVC pipes for durable and varied obstacle designs.
- Design the layout by assessing space, ensuring safety, and incorporating diverse heights to challenge skills.
- Construct obstacles with different materials, ensuring stability with yard stakes and enhancing visibility using LED lights.
- Follow safety regulations, conduct risk assessments, and designate a safety officer for overseeing the course.
- Test obstacles for stability, gather participant feedback, and make adjustments to maintain engagement and safety.
Choosing the Right Materials
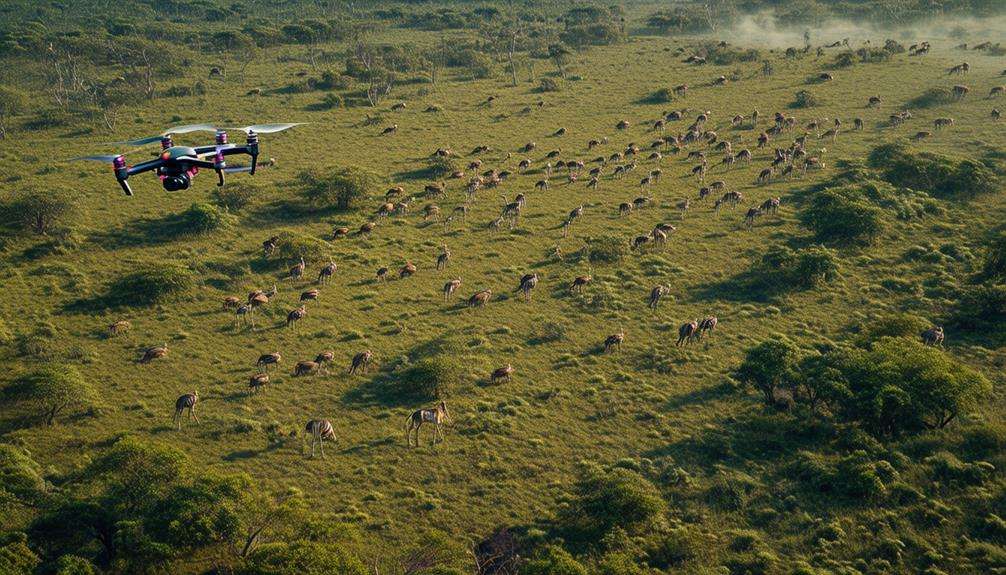
When setting up a drone obstacle course, choosing the right materials is crucial for creating an engaging and safe environment. Start by considering hula hoops as they make excellent gates. They're inexpensive and versatile, allowing you to hang them at various heights for dynamic obstacles. For ground-level challenges, foam pool noodles are ideal. Their soft material ensures that any crashes don't result in significant damage, making them perfect for low-flying obstacles. In addition to these materials, you might find inspiration from the precision and efficiency of drones in infrastructure inspection, where they are used to safely access hard-to-reach areas—concepts that can translate into exciting course designs.
For more advanced structures, use PVC pipes. These are durable and support complex designs, allowing you to create intricate configurations suitable for competitive settings. Incorporating LED lights into your obstacles not only enhances visibility but also adds visual appeal. This is particularly useful for courses flown at dusk or indoors, where lighting can significantly impact engagement.
To boost the complexity and engagement of your course, mix various materials. Cardboard, foam, and PVC can be combined to create a diverse range of obstacle types, such as hoops, tunnels, and gates. By carefully selecting these materials, you can design a course that challenges pilots while ensuring safety and keeping participants engaged throughout their flying experience.
Designing the Course Layout
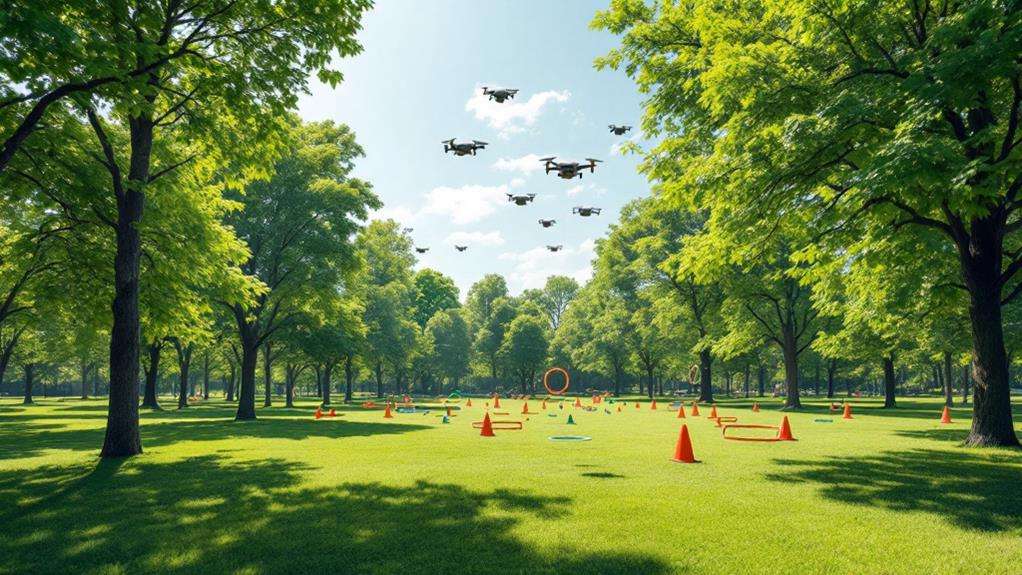
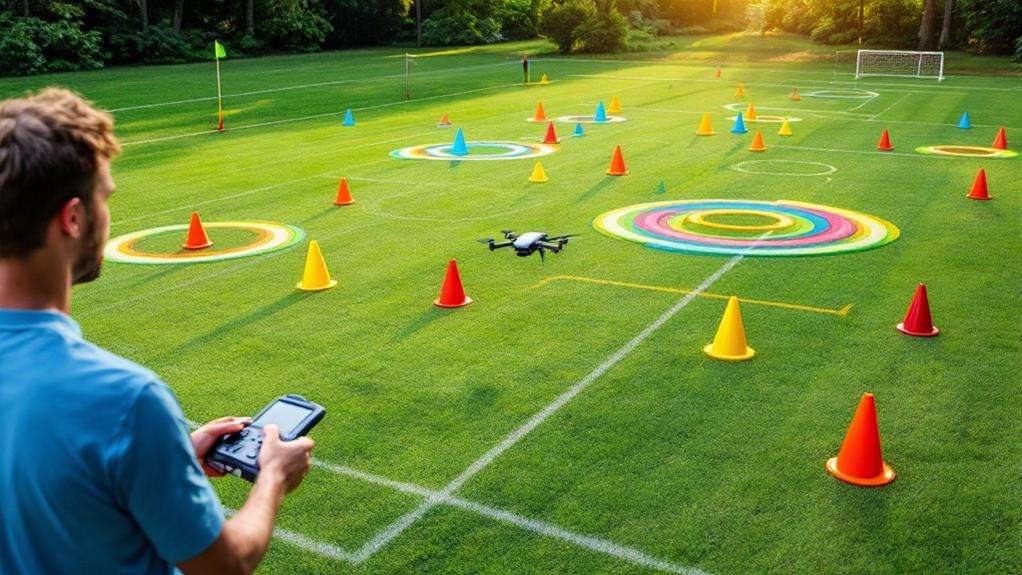
Designing an engaging drone course layout starts with a thorough assessment of your available flying space. First, find an area clear of obstacles like trees and power lines to ensure safety. When designing your course, think about incorporating a variety of heights and distances to challenge your students. Use materials like hula hoops, pool noodles, and PVC pipes to create obstacles that test different flying techniques, such as sharp turns and precise navigation. Incorporating real-time aerial insights can further enhance the course by providing data-driven feedback on flight paths, helping students improve their skills more effectively. Plan the course layout by mapping out the sequence of obstacles. Ensure each one is strategically placed to require a range of skills. This not only makes the course exciting but also helps students develop their drone piloting abilities. Visual markers, such as colored flags or chalk outlines, are essential for indicating the path and entry/exit points for each obstacle, making navigation clearer for everyone involved.
Safety should be a top priority. Keep a safe distance between the course and spectators, and ensure all obstacles are securely anchored. By prioritizing safety and accessibility, you create a positive learning environment where students can focus on honing their skills rather than worrying about potential hazards.
Constructing Obstacles

Building the obstacles for your drone course can be both a creative and practical endeavor. Start by using foam noodles to create soft and forgiving gates and flags. You'll need two noodles per gate and one per flag, perfect for beginners. For more durable and complex setups, opt for PVC pipes. Use 18-inch sections for gates and 6-inch sections for flags, allowing precise design flexibility. This approach helps in designing the course with varying difficulty levels.
To ensure stability, secure each obstacle into the ground with yard stakes or a hammer. This not only prevents wind disruptions but also safeguards against drone impacts. Enhance your obstacles with visual elements like LED lights. These not only improve visibility but also engage flyers with a more exciting experience.
Consider varying the height and distance of obstacles to add complexity. This will challenge pilots to improve their flying skills and navigation precision.
| Material | Purpose |
|---|---|
| Foam Noodles | Soft gates, flags |
| PVC Pipes | Durable, complex structures |
| Yard Stakes | Stability |
| LED Lights | Visual engagement |
| Varying Heights | Added complexity |
With these elements, you can create an engaging and challenging drone course.
Safety and Regulations
After crafting the perfect drone obstacle course, shift your focus to safety and regulations to ensure a secure flying environment. Start by checking local regulations and guidelines from aviation authorities like the FAA to ensure compliance with drone flying rules. This includes understanding altitude restrictions and identifying any no-fly zones in your area. Conduct a thorough risk assessment to pinpoint potential hazards, ensuring your course is safely set away from people, animals, and property.
Implement safety protocols by performing pre-flight checks on all drones. This ensures every piece of equipment is functioning correctly before any flying begins. To maintain order and safety, designate a safety officer who'll oversee the entire session. This person should ensure everyone follows safety guidelines and is prepared to manage any emergency response efficiently.
Clear instructions are vital for participants. Make sure they understand the importance of maintaining visual line-of-sight and respecting the limitations of their drones. Foster responsible flying behavior by emphasizing hazard identification and the importance of adhering to all safety measures. By following these steps, you'll create a safer environment that maximizes fun while minimizing risks.
Testing and Adjustments
Once your drone obstacle course is set up, it's crucial to jump right into testing and adjustments to ensure everything runs smoothly. Begin with a pre-race walkthrough to familiarize participants with the course layout and navigation rules. Highlight any potential obstacles and their configurations to prevent surprises during practice flights. Testing each obstacle for stability and visibility is essential. Make necessary adjustments to ensure they're secure and clearly marked, enhancing both safety and engagement.
Next, monitor drone performance during practice flights. Watch how drones interact with obstacles and note any areas where adjustments could improve flow or challenge. This hands-on approach helps you identify any weaknesses in the course layout. Solicit feedback from participants after their trial runs. Their insights can pinpoint areas of confusion or difficulty, allowing you to make informed changes that boost overall engagement and safety.
Don't forget to regularly check and tighten connections or supports throughout the event. This ensures the course maintains its integrity during multiple rounds of testing and competition. By actively addressing these factors, you create a dynamic, safe, and engaging obstacle course that challenges participants while ensuring their enjoyment.